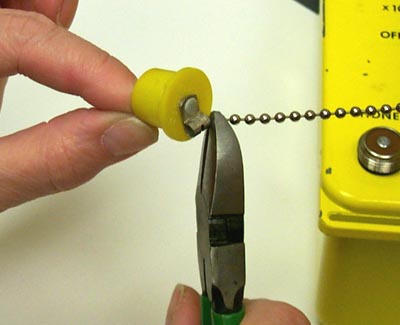
1: Locate the yellow plastic cap that covers the "phone" connector. Use a wire cutter or pliers to cut the last link of the chain, removing the cap from the chain.
|
|
 |
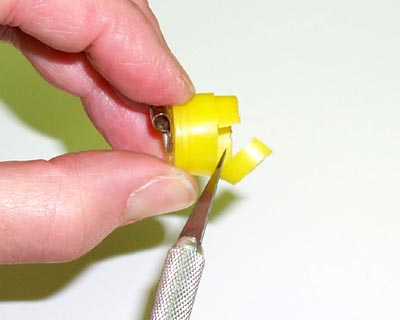
2: Trim about 1/4" off the open end of the cap. Check to be sure that the cap now slides onto the phone connector far enough that the metal piece inside the cap will touch the lump of solder in the middle of the phone connector.
|
|
|
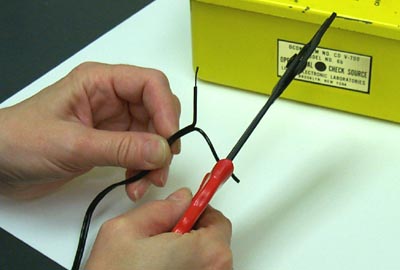
3: Strip the insulation off about 1/2" at each end of the wire.
|
|
|
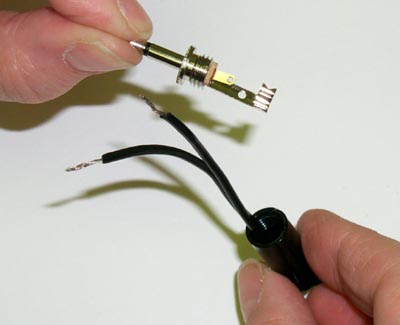
4: Unscrew the phone plug and slip the plastic sleeve over the wire, positioning it so that it can be screwed back onto the connector later.
|
|
|
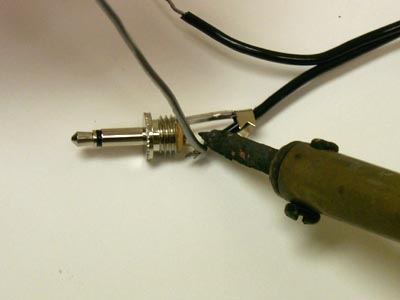
5: Solder one piece of wire to each post of the phone plug, making sure that the exposed wires cannot touch. Let the plug cool; then, screw it back together.
|
|
|
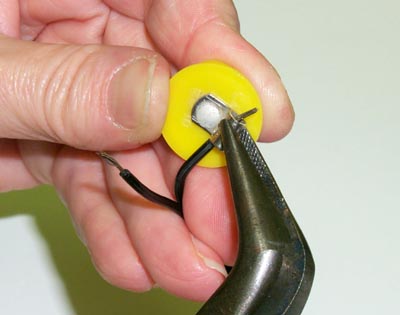
6: Fit one piece of wire into the metal clip at the top of the plastic cap. Using pliers (needle-nosed work well), crimp the clip so that it firmly grips the wire.
|
|
|
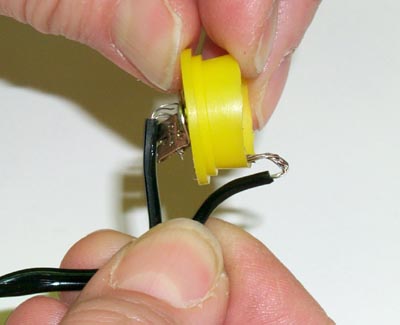
7: Bend the other piece of exposed wire "back on itself" (180°) and fit the exposed end inside the cap.
|
|
|
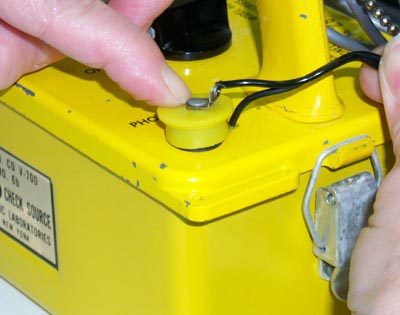
8: Holding the wire in place, slip the cap down over the phone connector, making sure the cap slips down far enough that the metal inside the cap makes contact with the small lump of solder in the center of the connector.
|
|
|
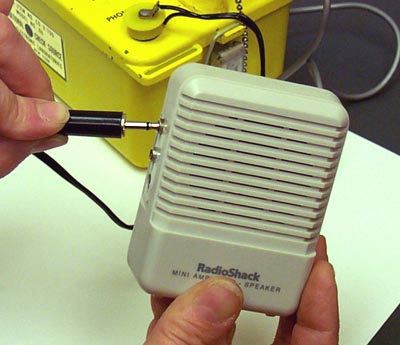
9: Insert the phone plug into the amplifier/speaker (battery in place). Turn on your amplifier/speaker and the Geiger counter.
|
|
|
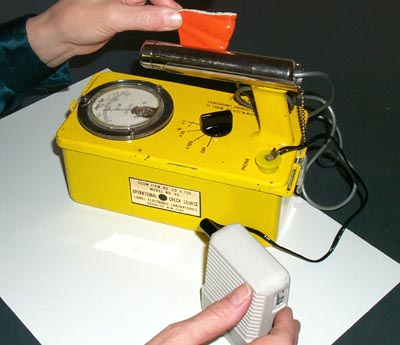
10: Test the set-up. The speaker may buzz or hum at high volume; adjust the volume to minimize the buzz and maximize the "clicks" from the Geiger counter.
|
|
|
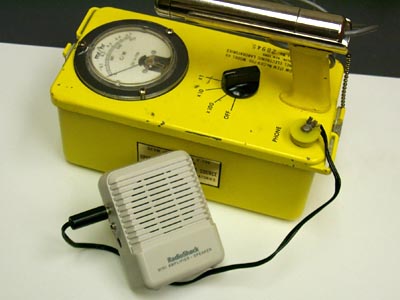
11: When you are certain that everything works well, you may want to use electrical tape to attach the loose wire to the plastic cap.
|
|